ERV Installation Guide: What Installers Need to Know
A comprehensive guide to installing decentralised ERV units. Covers diamond core drilling, wall sleeves, mounting, electrical connections, WiFi setup, and special situations like thin walls, basements, and thick walls.
Installing a decentralised energy recovery ventilation (ERV) unit is one of the most straightforward mechanical installations in the building services industry. A trained installer can complete the entire process — from unpacking to commissioning — in 1 to 2 hours per unit. However, getting the details right matters. A poorly installed unit can underperform, leak water, create noise issues, or fail prematurely. This guide covers everything an installer needs to know to achieve a clean, professional, long-lasting installation every time.
Tools and Equipment Required
Before arriving on site, ensure you have the following tools and equipment ready. Missing a single item can cost you an hour of downtime.
- Diamond core drill with O162mm and O172mm bits (O110mm for Air Nano installations). A drill stand with vacuum base or anchor bolt mounting is strongly recommended for clean, straight holes.
- SDS rotary hammer drill for anchor bolts and cable routing.
- Spirit level (600mm minimum) for ensuring the wall sleeve has the correct outward slope.
- Tape measure and pencil for marking the core drill position.
- Vacuum cleaner (wet/dry) for dust and slurry management during core drilling.
- Silicone sealant (external-grade) for sealing the wall sleeve to the external facade.
- Expanding foam or mineral wool for insulating the gap between the wall sleeve and the core-drilled hole.
- Electrical tools: cable stripper, screwdrivers, voltage tester, 3-core flex (if not supplied), fused spur or plug.
- PPE: safety goggles, ear defenders, dust mask (FFP2 minimum), gloves, steel-toe boots.
- Dust sheets to protect flooring and furniture.
Step 1: Site Survey and Position Marking
Before drilling, conduct a brief site survey to confirm the installation position. The unit should be mounted on an external wall, ideally at high level (top of wall, 200-300mm below ceiling) for optimal air distribution. Check for:
- Obstructions inside the wall: Use a cable and pipe detector to scan for electrical cables, water pipes, gas pipes, and structural steel. If in doubt, check building plans or drill a pilot hole first.
- External obstructions: Check the external side for downpipes, gutters, neighbouring windows, or obstacles that would block the external hood. The hood needs at least 300mm clearance from corners and obstructions.
- Wall thickness: Measure the total wall thickness including any internal plaster and external render. The AirPro V2.0 requires a minimum of 280mm; the Air Nano requires 220mm minimum.
- Power supply: Identify the nearest power source — a fused spur, socket outlet, or lighting circuit. The AirPro V2.0 draws a maximum of 7W, so any standard circuit can supply multiple units.
Mark the centre point of the core drill on the internal wall surface. The standard height is 2,100mm from floor level to the centre of the hole, but this can be adjusted to suit the room layout and furniture placement. For AirPro V2.0, use the supplied mounting template to mark both the core drill centre and the fixing bolt positions.
Step 2: Diamond Core Drilling
This is the most critical step. The quality of the core-drilled hole determines the quality of the entire installation.
- Drill diameter: Use O162mm for the AirPro V2.0 wall sleeve (O172mm if the sleeve requires a slightly looser fit for insulation). Use O110mm for Air Nano.
- Outward slope: The hole MUST slope downward toward the outside at 2-4% (approximately 5-10mm drop per 250mm of wall thickness). This slope is essential for water drainage — without it, rainwater will run along the wall sleeve and drip inside the room. Set the drill angle before starting and check with a spirit level.
- Drilling technique: Start with the pilot bit to establish the centre, then engage the diamond core bit. Use water cooling for masonry and concrete (dry drilling generates excessive heat and dust). For timber-frame walls, dry drilling is acceptable.
- Through-wall drilling: Drill from the inside out. When the pilot bit breaks through on the external side, stop. Go outside and verify the exit position is clear of obstructions. Then complete the core from the inside.
- Core removal: Extract the core plug using the core drill's extraction mechanism or a bolster and hammer. Clean the hole thoroughly — remove all dust, debris, and slurry with a brush and vacuum.
For reinforced concrete walls, expect drilling to take 15-30 minutes depending on rebar density. For standard brick or blockwork, 5-10 minutes is typical. Always carry spare diamond segments — hitting rebar can wear through segments quickly.
Step 3: Wall Sleeve Installation
The wall sleeve (telescopic plastic or metal tube supplied with the unit) provides a clean, sealed passage through the wall.
- Cut the wall sleeve to match the wall thickness, leaving 5mm proud on the external side.
- Insert the sleeve into the core-drilled hole. Ensure the outward slope is maintained (2-4% downward to the outside).
- Fill the gap between the sleeve and the wall with expanding foam (for cavities up to 10mm) or mineral wool (for larger gaps). Do not overfill — expanding foam can deform the sleeve if applied too generously.
- Apply external-grade silicone sealant around the sleeve on the external facade to prevent water ingress.
- Attach the external weather hood to the sleeve. Ensure the hood louvres face downward to shed rain. Screw or clip the hood securely according to the manufacturer's instructions.
Step 4: Unit Mounting
Mount the indoor unit according to the manufacturer's installation manual:
- Fix the mounting bracket to the wall using the pre-marked fixing points. Use appropriate fixings for the wall type (expansion bolts for masonry/concrete, heavy-duty plasterboard fixings for timber frame).
- Check the bracket is level using a spirit level.
- Hang the unit on the mounting bracket. Ensure the unit is seated securely and the internal duct port aligns with the wall sleeve.
- Connect the internal duct port to the wall sleeve using the supplied flexible connector or gasket. Ensure an airtight seal.
Step 5: Electrical Connection
All Din Ventilation units operate on 230V AC, 50Hz. The electrical connection is straightforward:
- Connect the unit to a fused spur (3A fuse) or plug into a nearby socket outlet. A fused spur gives a cleaner, more permanent installation.
- Route the cable neatly along the wall using cable clips or mini trunking. Avoid running cables across the wall sleeve opening.
- Ensure the electrical installation complies with local wiring regulations (e.g., BS 7671 in the UK, DS/HD 60364 in Denmark, VDE 0100 in Germany).
- For installations in bathrooms or wet areas, the unit must be outside Zone 1 and Zone 2, or the electrical connection must comply with the additional requirements for those zones.
Step 6: WiFi Setup and Commissioning
Once powered on, the unit enters pairing mode automatically on first start:
- Download the AirLinq app (iOS or Android) on the homeowner's or building manager's phone.
- Create an account or log in.
- Follow the in-app pairing wizard: select the unit model, connect to the unit's temporary WiFi hotspot, enter the building's WiFi credentials, and the unit connects to the cloud.
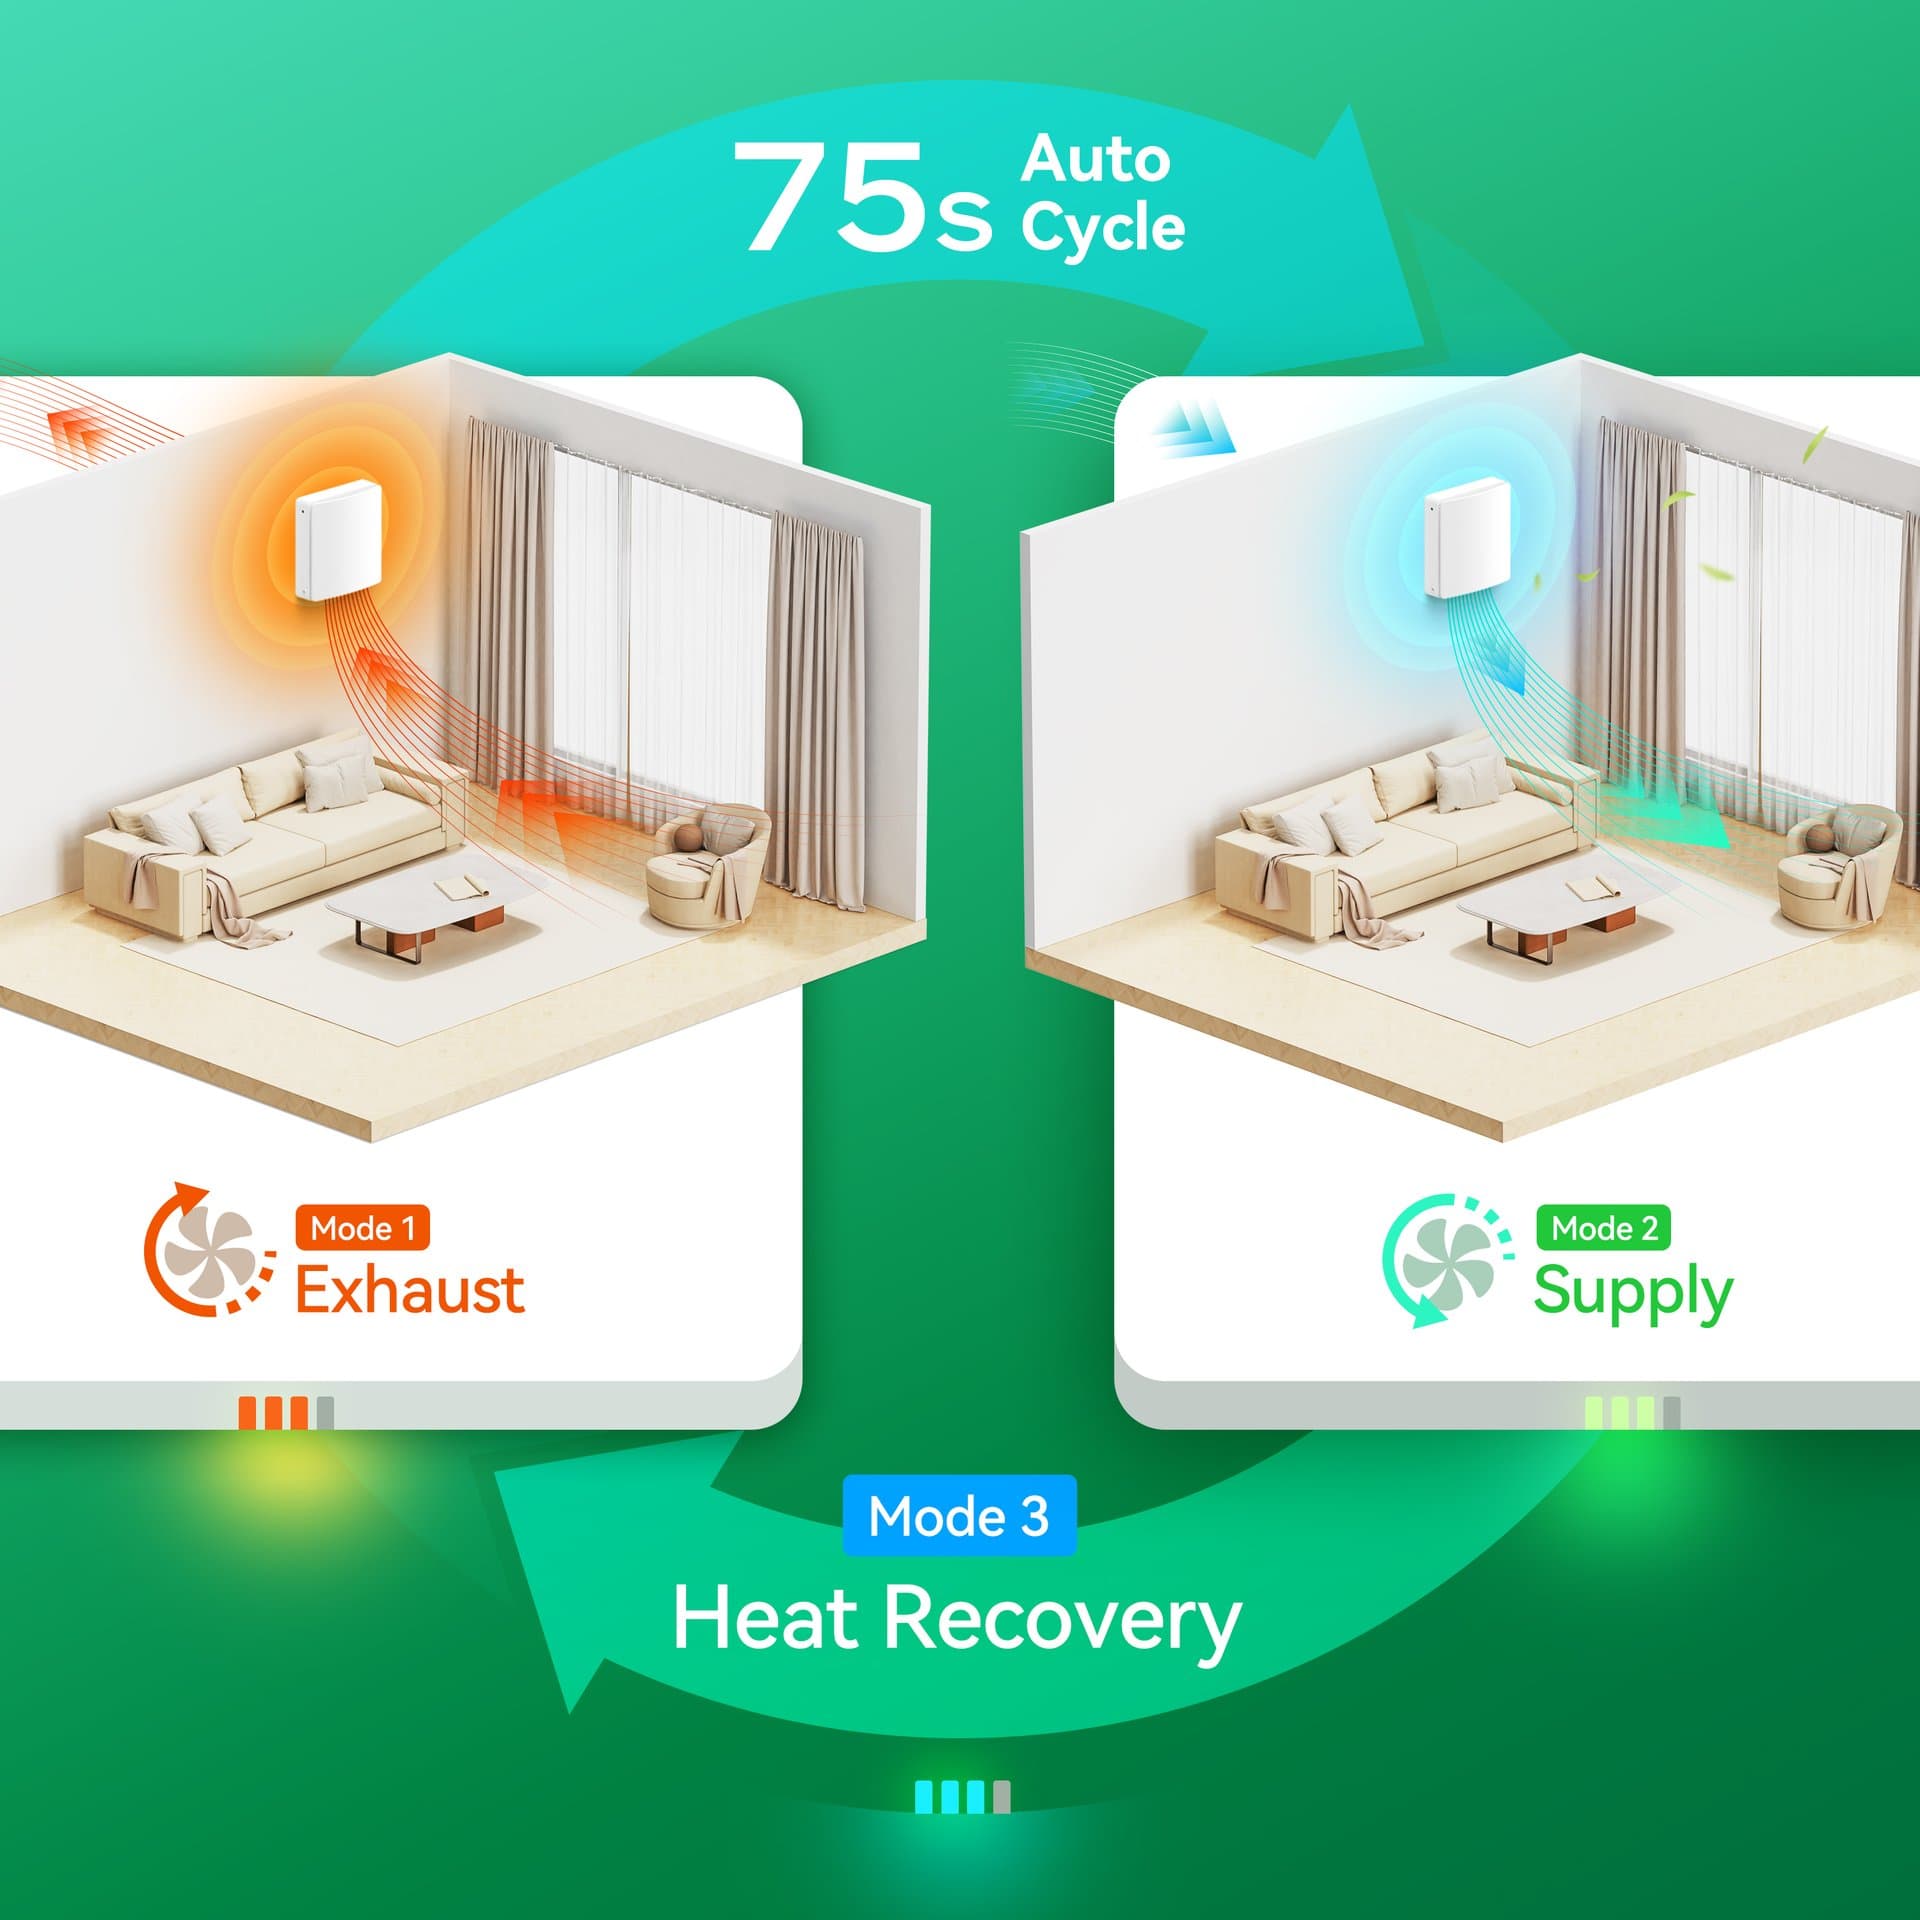
- Pair paired units: if two units are installed in the same room or opposite rooms, pair them in the app so they operate in alternating push-pull mode.
- Set the default fan speed (typically speed 2 for residential, speed 3 for commercial).
- Verify operation: check that the fan runs smoothly in both supply and extract modes, the unit alternates correctly, and the app shows real-time data (temperature, humidity, fan speed).
If the building does not have WiFi or the owner does not want smart control, the unit operates fully autonomously using its built-in humidity sensor and the manual speed control on the unit itself.
Special Situations
Thin Walls (Under 250mm)
The AirPro V2.0 requires a minimum wall thickness of 280mm. For walls thinner than this, you have two options:
- Use the Air Nano: Designed for walls as thin as 220mm with its 110mm diameter wall sleeve.
- Spacer bracket: For walls between 250-280mm, a spacer bracket (available from Din Ventilation) extends the unit 30-50mm proud of the wall surface. This is aesthetically acceptable in most cases, especially when the unit is mounted at high level.
Basements Below Ground Level
When the external wall is below ground level (common in basements), the wall penetration cannot exit directly to open air. Solutions include:
- Light well (window well): If the basement has an existing light well, the wall penetration can exit into the light well. Ensure the light well has adequate drainage and the external hood is protected from flooding.
- Extended duct to above-ground: Route a short section of rigid duct (150mm diameter) from the wall penetration upward through the ground to a weatherproof terminal at ground level. Maximum duct length: 2 metres to avoid excessive pressure drop.
- Internal wall with duct to external: In some cases, mounting the unit on an internal wall and running a short duct through the ceiling/floor to reach an external wall on the floor above may be the only practical option.
Thick Walls (400mm+)
Very thick walls — common in historic buildings, stone-built properties, and some Scandinavian timber-frame constructions — require extra attention:
- The standard wall sleeve may not be long enough. Order the extended wall sleeve (available up to 600mm) or telescope two standard sleeves together.
- Core drilling through 400mm+ of masonry is slow and generates significant heat. Use ample water cooling and take breaks to avoid overheating the diamond bit.
- Ensure insulation within the wall cavity (if present) is not compressed or displaced by the wall sleeve. Repack insulation around the sleeve if necessary.
- The outward slope becomes more important with thick walls — a 2% slope over 400mm is 8mm, which is sufficient for water drainage. Use a spirit level to verify.
Safety Requirements
ERV installation involves core drilling, electrical work, and sometimes working at height. Observe these safety requirements:
- PPE: Safety goggles, ear defenders, FFP2 dust mask, gloves, and steel-toe boots during core drilling. Dust from masonry and concrete contains crystalline silica — a serious respiratory hazard.
- Asbestos awareness: In buildings built before 1990, there is a risk of asbestos in wall plaster, insulation, or artex ceilings. Check the asbestos register before drilling. If in doubt, commission a survey.
- Electrical safety: Isolate any circuits that may run through the drilling zone. Use a cable detector before drilling. All electrical connections must be made by a competent person in accordance with local wiring regulations.
- Working at height: If the external hood is above 2 metres from ground level, use a scaffold, tower, or MEWP (mobile elevating work platform) to install it safely. Do not lean ladders against the facade to work with both hands.
- Fire stopping: In multi-dwelling buildings, the wall penetration may pass through a fire-rated wall. Install intumescent fire collars or fire-rated sealant as required by local fire regulations.
Installation Time Guidelines
For a trained installer, typical installation times are:
| Scenario | Time per Unit |
|---|---|
| Standard brick/block wall, easy access | 1 hour |
| Concrete wall, standard access | 1.5 hours |
| Thick stone wall (400mm+) | 2 hours |
| Basement installation with extended duct | 2–3 hours |
| AirSchool (floor-standing, larger wall penetration) | 2–3 hours |
For multi-unit installations (e.g., a full apartment or school), efficiency increases after the first unit. A two-person team can typically install 4–6 AirPro V2.0 units per day in a residential building, or 3–4 AirSchool units per day in a school.
Common Installation Mistakes to Avoid
- No outward slope on the wall sleeve: This is the most common mistake and leads to water ingress. Always verify the 2-4% outward slope with a spirit level before sealing.
- Insufficient sealing around the wall sleeve: Gaps allow air leakage, which reduces heat recovery efficiency and can cause draughts. Use expanding foam and silicone generously.
- Mounting the unit off-centre from the wall sleeve: Misalignment between the unit's internal duct port and the wall sleeve creates air resistance and noise. Use the mounting template to ensure perfect alignment.
- Forgetting to pair units: Unpaired units operate independently, which can create negative or positive pressure in the room. Always pair units in the AirLinq app during commissioning.
- Cable routes through the wall penetration: Never run electrical cables through the wall sleeve. They will be exposed to airflow, moisture, and temperature extremes. Route cables separately.
Conclusion
Installing a decentralised ERV unit is a clean, fast, and straightforward job — but the details matter. A well-installed unit will perform at its rated efficiency for 15+ years with minimal maintenance. A poorly installed unit will underperform, leak, and generate callbacks. Follow this guide, use the right tools, and take pride in a quality installation. Your customers — and their energy bills — will thank you.
Frequently Asked Questions
What diameter core drill bit do I need for the AirPro V2.0?
Use a O162mm diamond core drill bit for the standard wall sleeve. A O172mm bit provides a slightly looser fit, which makes it easier to insulate the gap around the sleeve. For the Air Nano, use a O110mm bit.
Can I install an ERV unit in a timber-frame wall?
Yes. Use dry diamond core drilling (no water) to avoid damaging the timber. Ensure the core drill does not cut through any structural timber members — check building plans or use a stud detector. Fire stopping may be required around the wall sleeve in timber-frame construction.
What is the minimum wall thickness for installation?
The AirPro V2.0 requires a minimum wall thickness of 280mm. The Air Nano can be installed in walls as thin as 220mm. For walls between 250-280mm, a spacer bracket is available to accommodate the AirPro V2.0.
Do I need to be a certified installer to fit Din Ventilation units?
The mechanical installation (core drilling, wall sleeve, unit mounting) does not require specific certification, but the electrical connection must be made by a competent person in accordance with local wiring regulations. We offer free installer training courses — contact us for the next available date.
Related Articles

Need help choosing the right ventilation solution?
Our technical team can design a ventilation solution tailored to your building. Get in touch for a free consultation.